How to install Mavericks (OS 10.9) on your old iMac (early 2008)
I have been a Mac user over 20 years.
The first Mac which I operated was a IIfx (not my own computer because it was too expensive!), and I have been used an iMac since 2008.
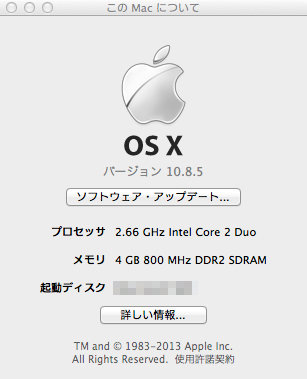
Now, I tell you the process of installing the latest OS “Mavericks" (10.9) on your iMac (early 2008).
Spec of my iMac
| Type | Early 2008 model |
| Processor | 2.66GHz Intel Core 2 Duo |
| Memory | 4GB |
| Display | 20 inch |
| Hard Drive | SSD 250GB |
| OS | Mountain Lion (10.8) |
Preparations before installing Mavericks
・ Install Snow Leopard (OS 10.6.8), Lion (OS 10.7) or Mountain Lion (OS 10.8).
・ Install Mavericks when you have enough time.
・ Perceived Performance of your iMac will be much faster if you exchange a HDD (Hard Disk Drive) for a SSD (Solid State Drive).
I have installed Mavericks on my iMac in December, 2013.
The latest version of Mavericks was 10.9.1. then.
Installing Mavericks (OS 10.9) on your iMac
(1) Back up your data with “Time Machine"
To back up your data on your iMac is the most important things. Your e-mails, photos, videos and applications…
Time Machine will help to back up your data, and the way to use is very easy.
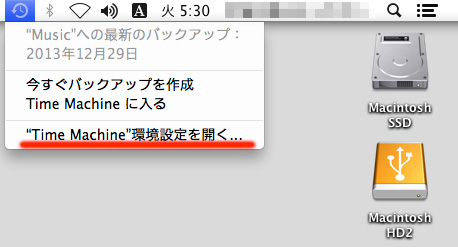
If you see the desktop on the menu bar on the right, you will find the clock icon.
Click it and enable Time Machine, and you select the HDD (SSD) for back up. Although the work is automatic, it takes more than few hours. The best way I had was to start Time Machine before going to bed. My data has been already backed up when I woke up.
(2) Download the latest Mavericks from App store
Next, you’ll download the laterst version of Mavericks (10.9).
Click the icon and go to App Store.
You can find the icon of OSX Mavericks or you can search the word “Mavericks" in the search box.
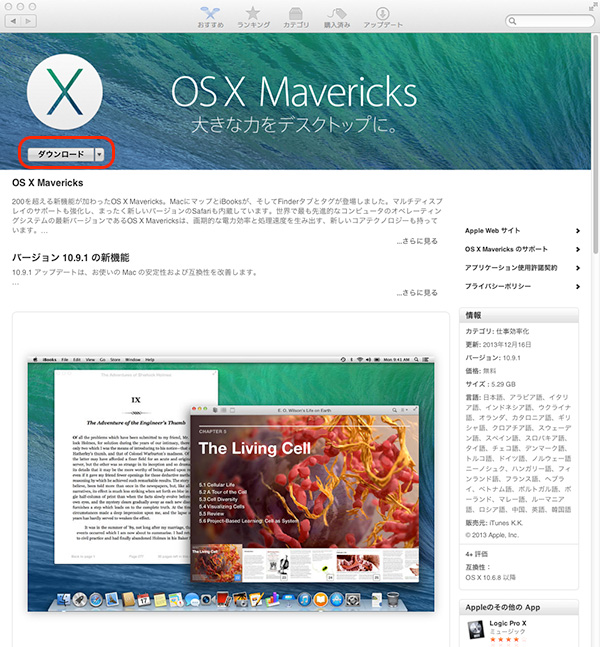
The volume of the installer is about 5.3GB… so heavy 🙁
You have to wait a few hours if you use ADSL. In my case, I started downloading it before going to bed like backing up my data.
(3) Back up the installer
If you would like to re-install Mavericks, App Store requires you to download the heavy installer again. The best way is to back up the installer.
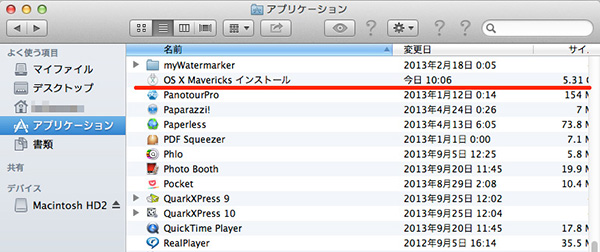
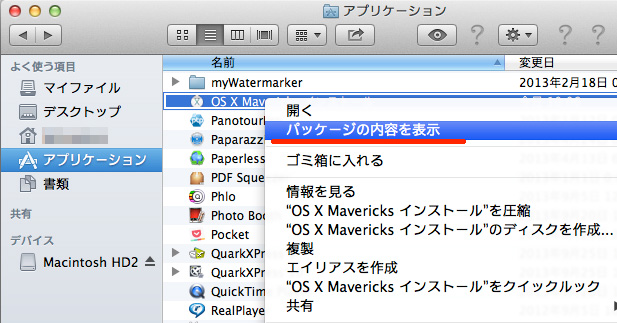
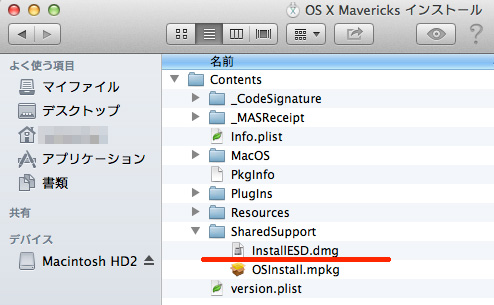
First, click the right botton (or click left botton with Control) of your mouse on the icon of the installer, and select “Viewing the Contents of a Package". Second, when you find the name of the installer “InstallESD.dmg", back up it.
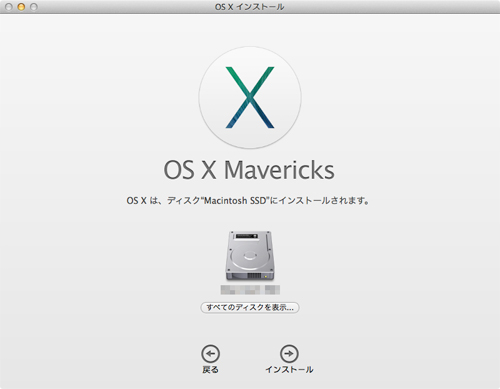
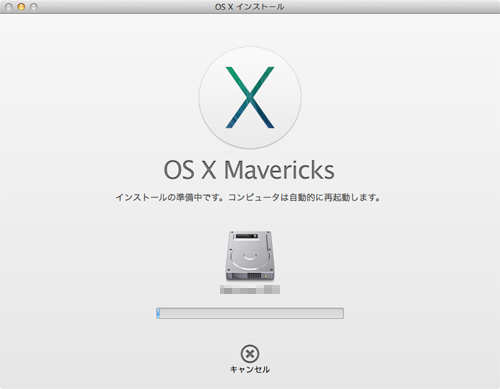
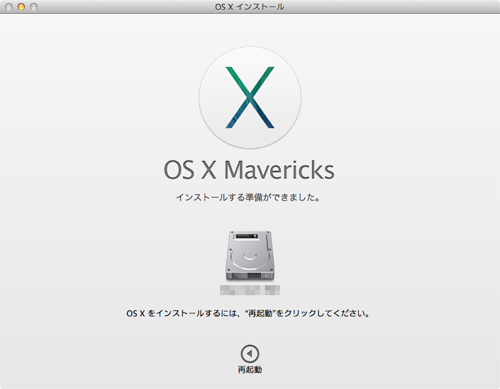
(4) Install Mavericks
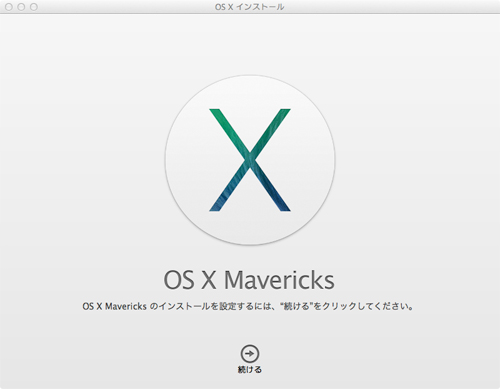
Double click the installer.
Click the continue button.
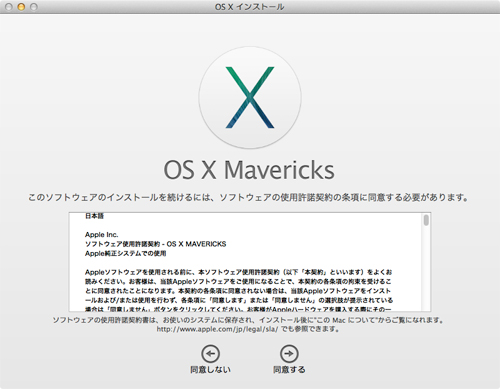
Click the agree button.
You can select the hard drive to install Mavericks.
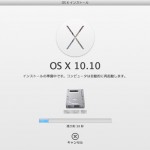
The program works automatically when you click the start button.
Click Restart button after the install.
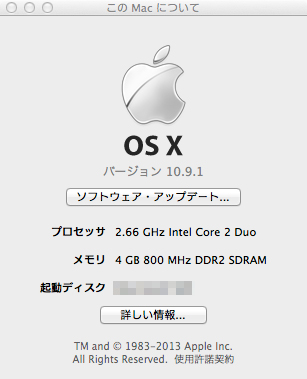
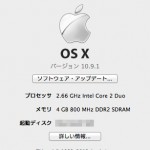
You can confirm the OS information when you click the apple icon on the menu bar and select “About this Mac".






ディスカッション
コメント一覧
まだ、コメントがありません